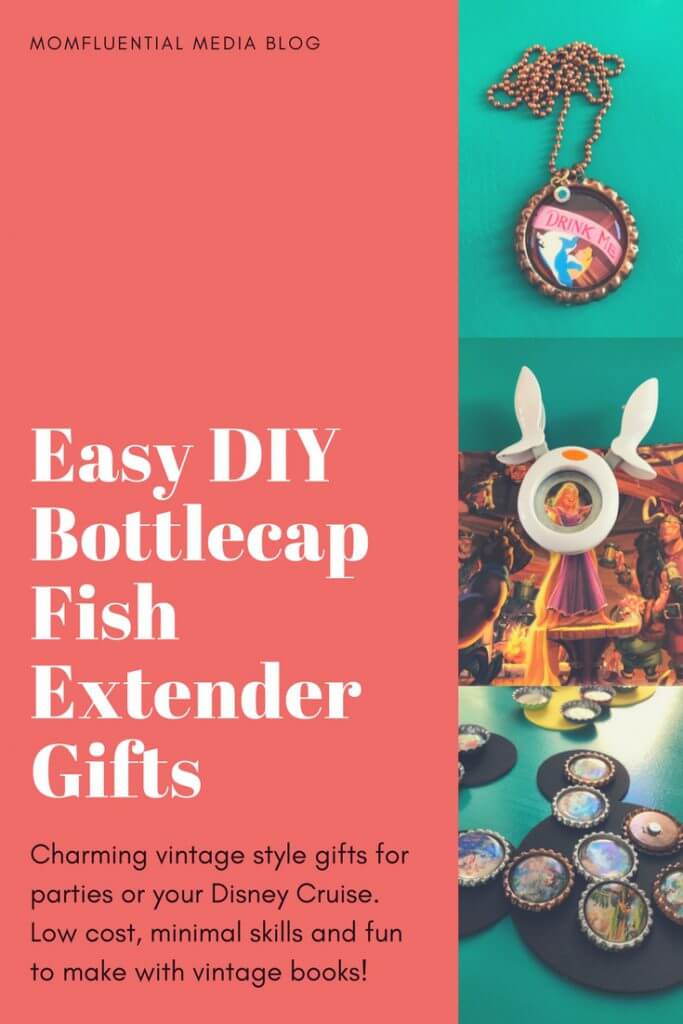
You know those super cute Vintage Disney Bottle Cap Necklaces you see in boutiques and online? Turns out they are easy and inexpensive to make. They are perfect for crafting in bulk, when you have a lot of goodies to give. And if you like upcycling old books, this is a craft that will make you very happy.
When I signed up for the Disney Social Media Moms Land and Sea celebration, I made a decision. I was going to be all in. This meant decorating my cabin door, and participating in “Fish Extenders” (click link for a more detailed post of what these are about).
Fish extender gifts are presents that you hand out, Secret Santa style to other people on your cruise with you. They are small gift, often handmade. I knew immediately that I was going to make magnets and necklaces for ours. I’ve always wanted an excuse to make a whole mess of bottlecap necklaces and finally, had one.
Bottle cap necklace making is an inexpensive craft. The bottle caps are less than $20 for 200 and the epoxy stickers to seal your art are about $5/100. I invested in a one inch circle punch and a punch for making a hole in the caps so I could make necklaces, charms or key chains. I also purchased some metal ball chain necklaces and some split rings for attaching the caps. I already owned jewelry pliers so I did not have to buy those.Last but not least, you will need art. I went to my local friends of the library bookstore, and found about a dozen well loved Disney books for 50 cents each. Score! You can also shop at thrift stores, secondhand kid’s clothing and supply stores, garage sales… You do not need the books to be in good condition. In fact it is a pleasure to grab the most beat up books, and up-cycle them.


If you don’t have access to used books, you can also download ready to go, printable 1 inch circles for use with bottlecaps. Etsy has tons of them. Just be aware that these are probably fine for personal use but should not be used for any item you intend to sell.
Here is a Fish Extender Bottle Cap Craft supply list:
Bottle Caps – I prefer the flat ones for necklaces, the regular ones are great for magnets
- Epoxy Dots – These seal your art on top and make it look great
- Craft glue – A thin layer on the back seals your paper on the back
- E3000 Glue – for adhering your dots to the bottlecaps
- A 1 inch round paper punch for cutting out images from books
- A tin hole punch for making holes in bottle caps to turn into necklaces
- Split rings for attaching to bottle caps for necklaces
- Ball chain or leather cording for necklaces
- Small charms or beads to add to necklaces (optional)
- Rare earth magnets to attach to bottle caps to turn your creating into magnets
I bought a lot of my supplies from BottleCapCo but they are also available on Amazon (not affiliate links)
Step One: Choosing the Images for Fish Extender Gifts
Identify images you would like to use for your magnets. Smaller images of your favorite characters make great magnets and necklaces but you can also use general art from the book to round out the set of magnets you are working on. Details are a nice touch.
Tip: If you have a lot of leftover and too large images, cut them out and set them aside for later use. These can be laminated and used as larger magnets, bookmarks, luggage and gift tags as well.
Step Two: Making the Gems for your Bottle Cap Necklace and Magnet Fish Extender Gifts
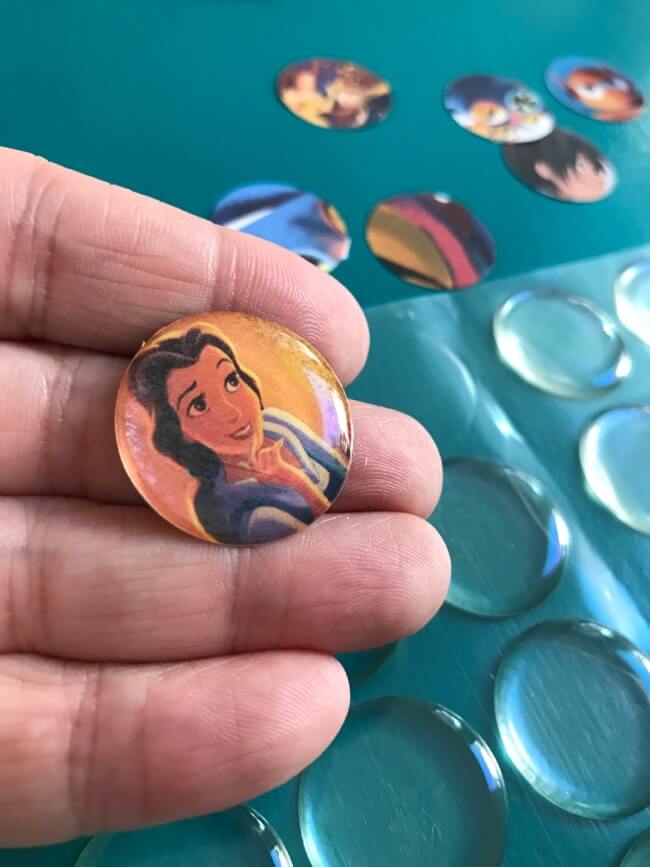
Apply an epoxy dot to your punched image, being sure to center it well. The back of the epoxy dots are sticky, so you want to get it right the first shot. Take a moment to press the image in and sort of knead the epoxy, pressing out any air bubbles and sealing the image. You can later add a thin layer of craft glue to further seal it and make it more water resistant. These are not going to be fully waterproof items, however. Let the craft glue dry overnight.
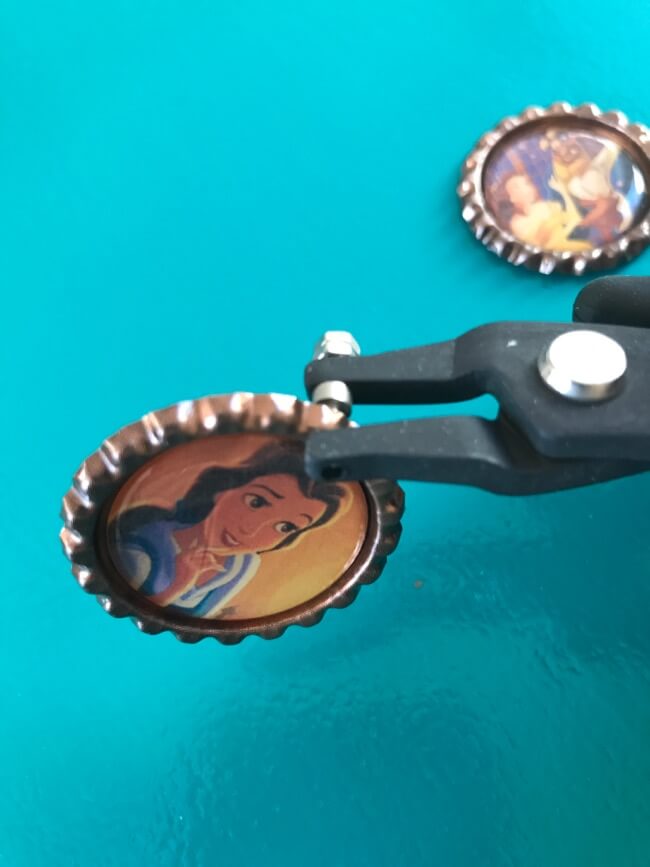
Step Three: Gluing Gems for Bottle Cap Necklace Fish Extender Gifts
Apply a thin layer of E3000 glue to the bottlecap and press your epoxy “gem” into place. Leave it to dry for a few hours at least, in a flat position so the glue stays level.
Step Four: Bottle Cap Magnet or Bottle Cap Necklace Fish Extender Gift?
Once your bottlecaps are ready to go you can choose what they will become. To turn one into a necklace you need only punch a hole and add a jump ring.
To make it a magnet, add a rare earth magnet on the back. These are super sticky on the bottle caps but it’s a good idea to put a drop of the E3000 glue down under them and leave to dry before using, so the magnets stay stuck on the bottle caps and not whatever surface you have applied them to.
That’s all there is to it really!
Step Five: Packaging your Fish Extender Gifts

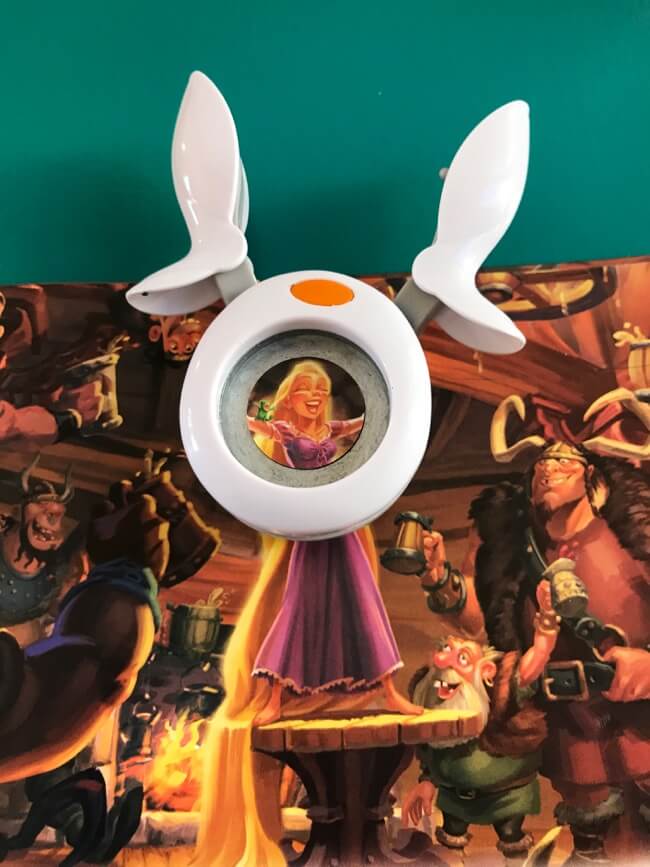
Well… there’s packaging too. For our Fish Extender gifts we packaged the magnets on these foam Mickey Ears, in clear cello bags.

For the necklaces we added a charm and packaged in organza bags. I also punched and laminated matching tags from the books. I’m extra like that!
Good to go!

Leave a Reply